React Single-Page Web Application for Meetings Management
Zkopírovat odkaz
Vít Uličný
·03/07/2024
·9 min.
Introduction
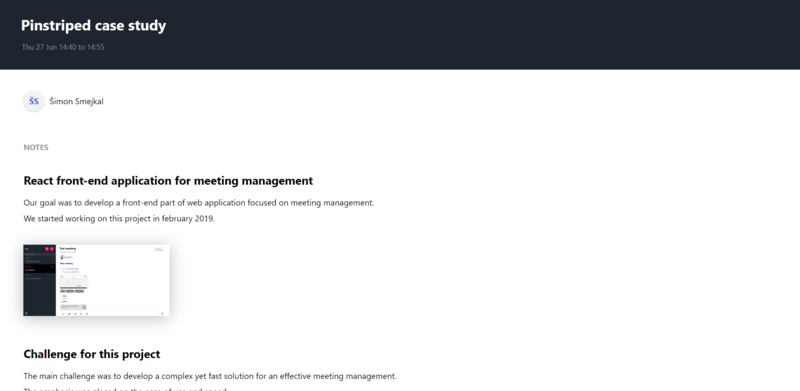
Our goal was to develop a React front-end part of web application focused on meetings management.
We started working on this project in February 2019. The main development finished in June 2019, but further development is still in progress.
Challenge - create React web application with API connection to the backend
The main challenge was to develop a complex yet easy-to-use solution for effective meeting management.
Except for the sign in and sign up screens, this was supposed to be a single page application.
The result - Single Page Application with Draft.js editor
As a result, we created a web application for meetings in React.js with:
- user authentication with OAuth via Google,
- meeting sharing functionality,
- Google calendars and contacts import,
- the rich text editor offering many features and formatting options,
- and many more.
The development team
The team for this front-end web application consisted of:
-
project manager Štěpánka,
-
React developer Šimon,
-
React developer Dominik,
-
QA engineer Jakub.
Used technology and libraries - Draft.js editor and more
This application was created in React.js with Redux state management.
Probably the most important piece of technology for this project was the Draft.js editor created by Facebook.
Draft.js editor was introduced in 2016 at React.js Conf.
It is powered by an immutable model and makes sure the formatting and the functionality stays the same across all browsers.
Draft.js is an easy solution for building any type of rich text input.
It offers many inline and block styles out of the box but for us, the main selling point was the possibility to customize everything.
You can add images, files or whatever entities you need directly into the text.
There are also many Draft.js plugins created by a team of enthusiasts around Nik Graf.
These include image plugin, video plugin, emoji plugin, mention plugin, and many others.
The editor has a top-level state object called EditorState which is an immutable record containing the entire state of the editor, as well as ContentState, SelectionState and undo and redo stacks.
The ContentState has a method that returns a JSON representation of the entire content including text, formatting and special entities like images or files.
You can easily send it to your server and make sure the content renders the same way every time in every browser.
Among the most used libraries for this project are:
-
Draft.js plugins,
-
Moment.js for date parsing,
-
Formik for forms and form components,
-
Debounce for performance optimization,
-
Node-sass for CSS modules,
-
React-datepicker for editable dates and time,
-
React-responsive-modal for modals.,
-
React-autosuggest for suggesting Google contacts,
-
React-toastify for notifications,
-
and many more.
App in detail
-
Sign up and log in via email or Google
-
Google calendars and contacts import
-
Welcome screen
-
New meeting editor and share modal view
-
Share meeting and read mode view
-
Search by title, content or tags
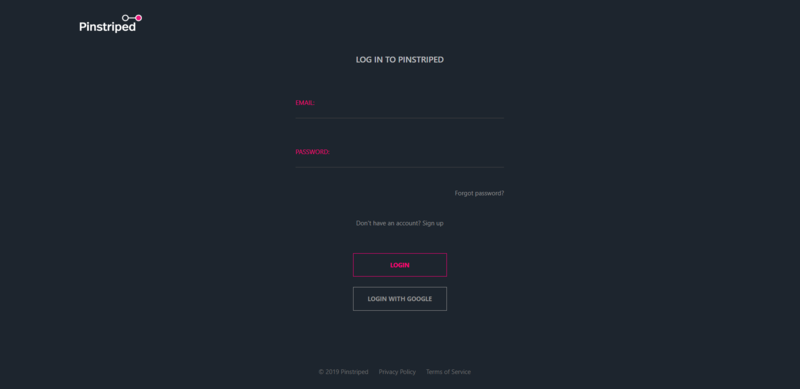
Sign up and log in via email or Google
A user can sign up or log in via email or Google:
Google calendars and contacts import
If you sign up with Google, the application has access to your Google calendars and contacts, which facilitates the creation of meetings and meeting participants.
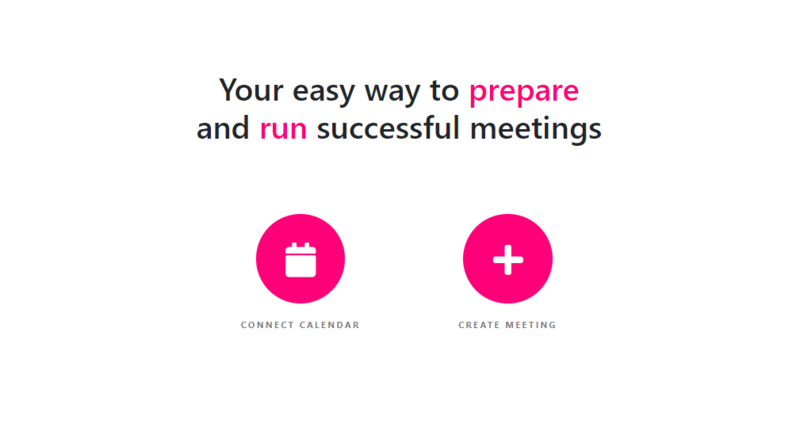
Welcome screen
After signing in, you can see the introduction screen with two options:
-
Create meeting - creates empty meeting
-
Connect calendar - creates meeting based on an event in your calendar, including date, title, and participants
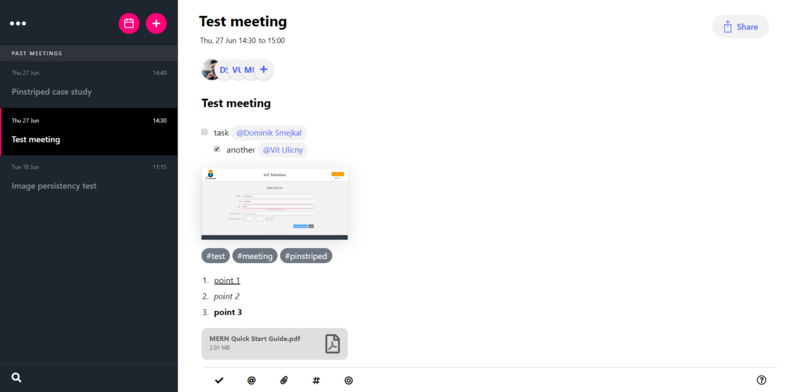
New meeting editor and share modal view
When you create a new meeting, you will see the meeting editor.
At the top, there is an editable meeting title, date, start time and end time and a share button.
After clicking the share button, you will see a modal window:
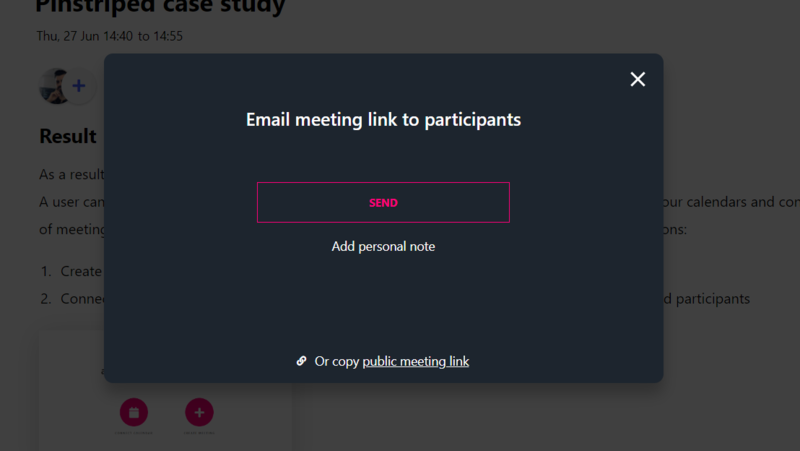
Share meeting and read mode view
Clicking the send button allows you to send a meeting mail to all participants of the meeting.
You can also add a personal note or copy the meeting link and send it directly to anyone.
The meeting mail includes a link to a read-only view of the meeting:
Below the top panel back in the meeting editor, there is a panel with participants.
You can see the avatars of participants attending the meeting.
After clicking on an avatar or plus icon, you will be redirected to a page with the list of participants:
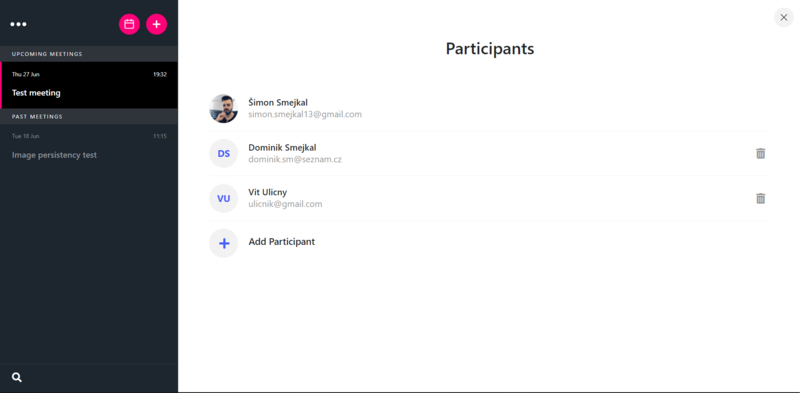
Meeting participants management
You can either add or delete a participant. If you add a participant, a modal window will pop up:
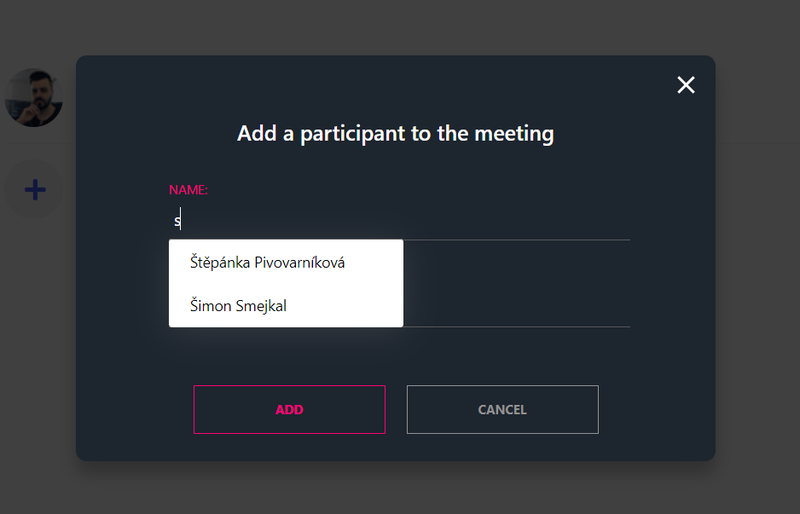
If you signed in with Google, you will see a suggestion of your Google contacts, which increases the speed of adding participants.
The main part of the app is the editor for writing meeting notes.
We used the Draft.js editor created by Facebook which is great for rich text formatting.
We also used some draft.js plugins, such as mentions plugin, hashtag plugin or inline toolbar plugin, which noticeably shortened the development process.
The inline toolbar offers these formatting options:

Below the editor, you can see another toolbar with special features.
These include:
-
Action - Creates a checkbox (same as in the inline toolbar),
-
Mention - Allows you to mention any one of your participants in the meeting notes, as well as assign some tasks to them,
-
Attach - You can upload a file or image directly into the text,
-
Tag - Creates a tag. You can use it for example when searching for meetings,
-
Decision - Inserts a decision icon into the text so that you can easily distinguish your decisions.
There is also a help button that displays keyboard shortcuts for formatting.
Learning and using shortcuts can significantly increase your note-taking speed.
On the left side of the screen, you can see a sidebar with the list of your meetings.
At the top, there is the main menu of the application with options Account (account settings) and Log Out.
Next, there are two buttons - the calendar button and plus button.
After pressing the Calendar button, you will see a list of your Google calendars:
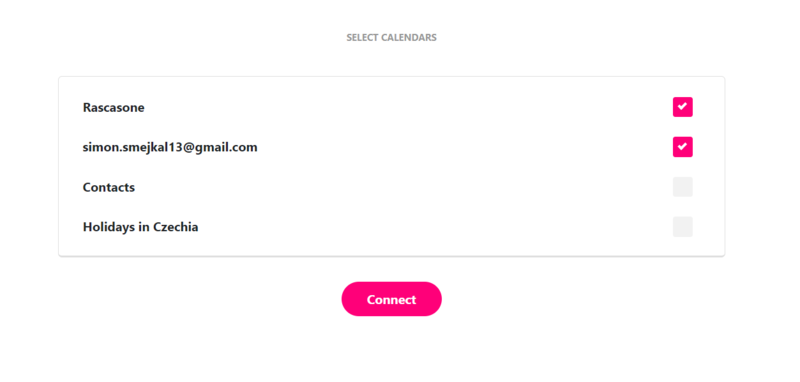
You can choose all the calendars you want to import events from.
After pressing the Connect button, you will see a list of imported events:
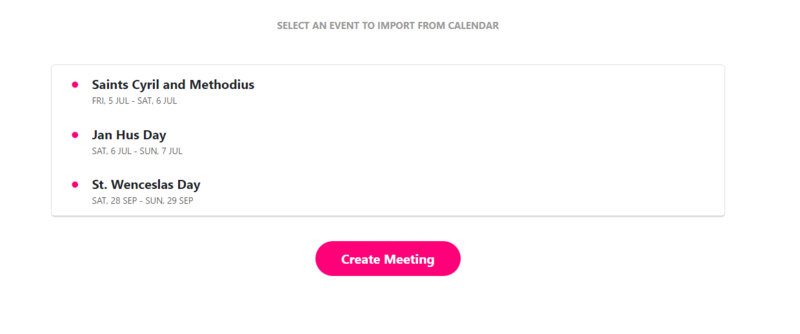
When you choose an event and click the Create meeting button, a new meeting is created with the same title, date, and participants as the calendar event.
Below the top panel, there is a list of meetings.
Meetings are sorted by current date and time into either Upcoming meetings or Past meetings.
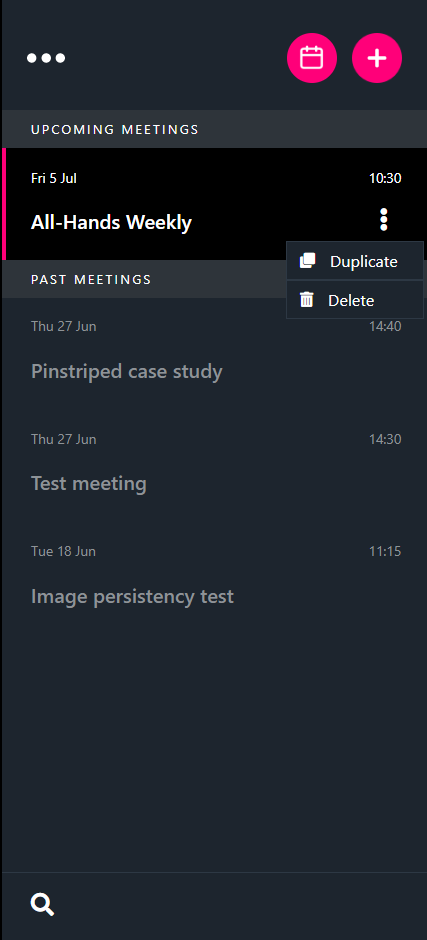
Each meeting has a duplicate and deletes option.
Duplicate functionality creates a new meeting with the same title and participants as the original meeting.
Search by title, content or tags
At the bottom of the sidebar, there is a search panel that allows you to search for a meeting based on the meeting title or content.
You can also search for meetings with a specific tag, which allows for a better structure of your meetings.


Are you interested in cooperation?
Leave us your contact details, we will get in touch with you.
Get in touch with Vít! He will discuss everything with you.
He will discuss and discuss everything with you
Vít Uličný
Founder & CEO